
Personalized acrylic photo plaques have become one of the most popular gift trends of 2026, and for good reason. They combine a favorite photo with the warm glow of LED lighting, creating a keepsake that’s both beautiful and functional. But if you’ve never ordered one before, the customization process might seem a bit mysterious.
Don’t worry — it’s actually simple. In this guide, we’ll walk you through every step of personalizing an acrylic photo plaque, from choosing the right photo to placing your order and caring for the finished product.
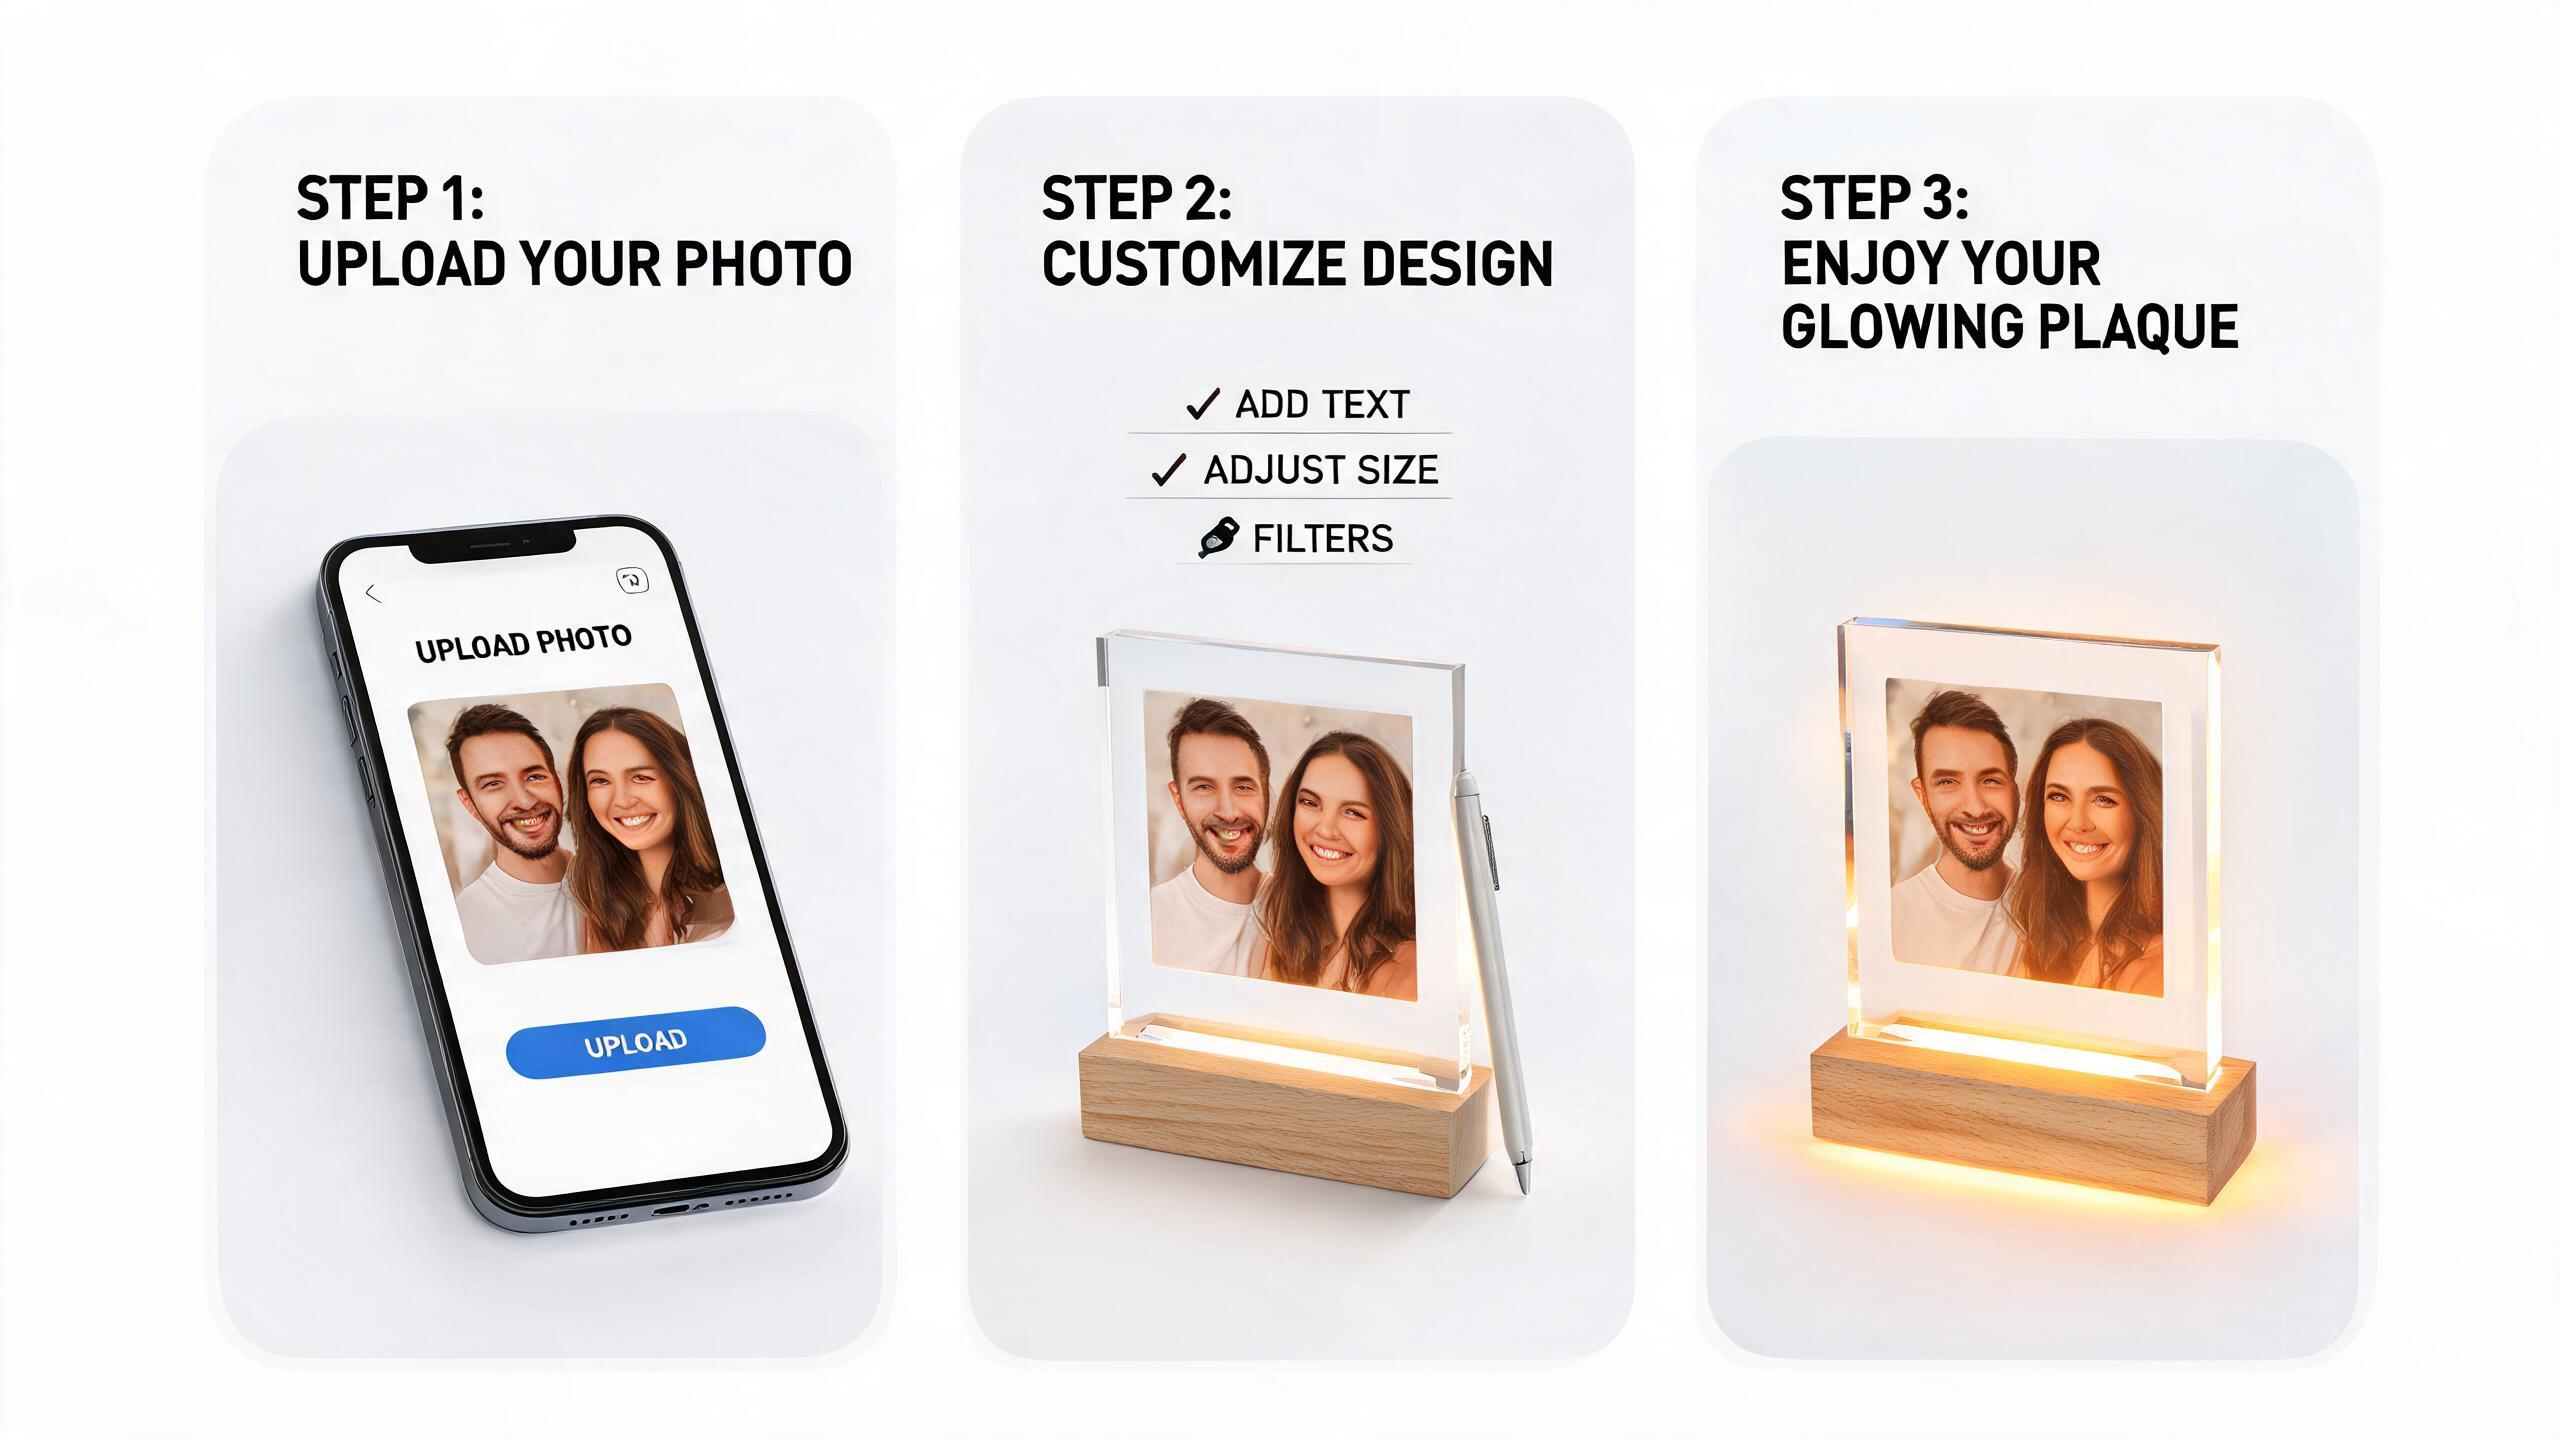
What Is an Acrylic Photo Plaque?
An acrylic photo plaque is a clear acrylic panel with a photo printed or engraved on it, mounted on a base (usually wood or acrylic) with a built-in LED light. When the light is on, the photo seems to glow from within — creating a stunning visual effect that regular photo frames simply can’t match.
Some plaques also include a music element — you can add a Spotify song code so the recipient can scan and listen to “your song” while looking at the photo. These are often called music plaques or Spotify plaques.
Step 1: Choose the Right Photo
The photo you choose will make or break the final result. Here’s what to look for:
- High resolution: At least 1000×1000 pixels. Blurry photos will look even worse when enlarged on acrylic.
- Good lighting: Well-lit photos with clear faces translate best. Avoid backlit or shadowy shots.
- Simple composition: Photos with 1-3 subjects work better than crowded group shots.
- Portrait orientation: Most acrylic plaques are vertical, so portrait photos fit better than landscape.
- Emotional connection: Pick a photo that means something — a special day, a candid moment, a favorite memory.
Pro tip: If your favorite photo is landscape, you can crop it to portrait — just make sure the main subject stays centered. Most phones have a built-in crop tool that makes this easy.
Step 2: Choose Your Plaque Style
Relxday offers several plaque styles to choose from. Here are the most popular options:
Photo + Music Night Light (RX20)
This is the premium option. You provide a photo, a song title, and an artist name — and they’re engraved onto crystal-clear acrylic with an LED base. The recipient can scan the Spotify code to hear the song while looking at the photo. It’s a multi-sensory memory in one beautiful object. Available in two sizes: 15x20cm and 20×16.5cm.
View the Photo Music Night Light →
Custom 3D Acrylic LED Night Light (RX17)
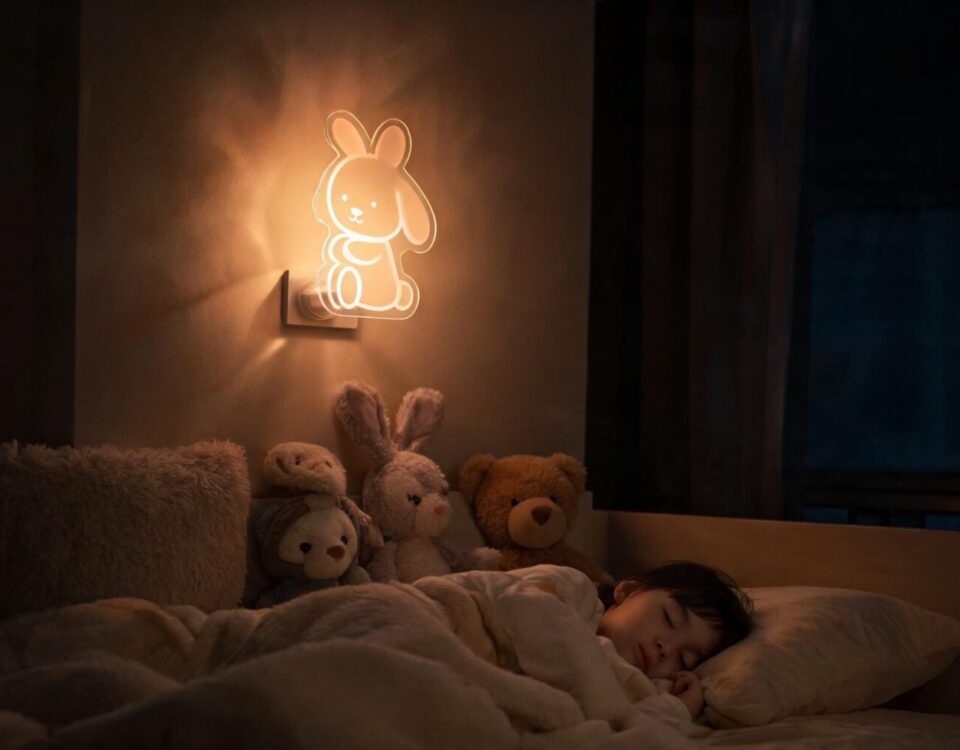
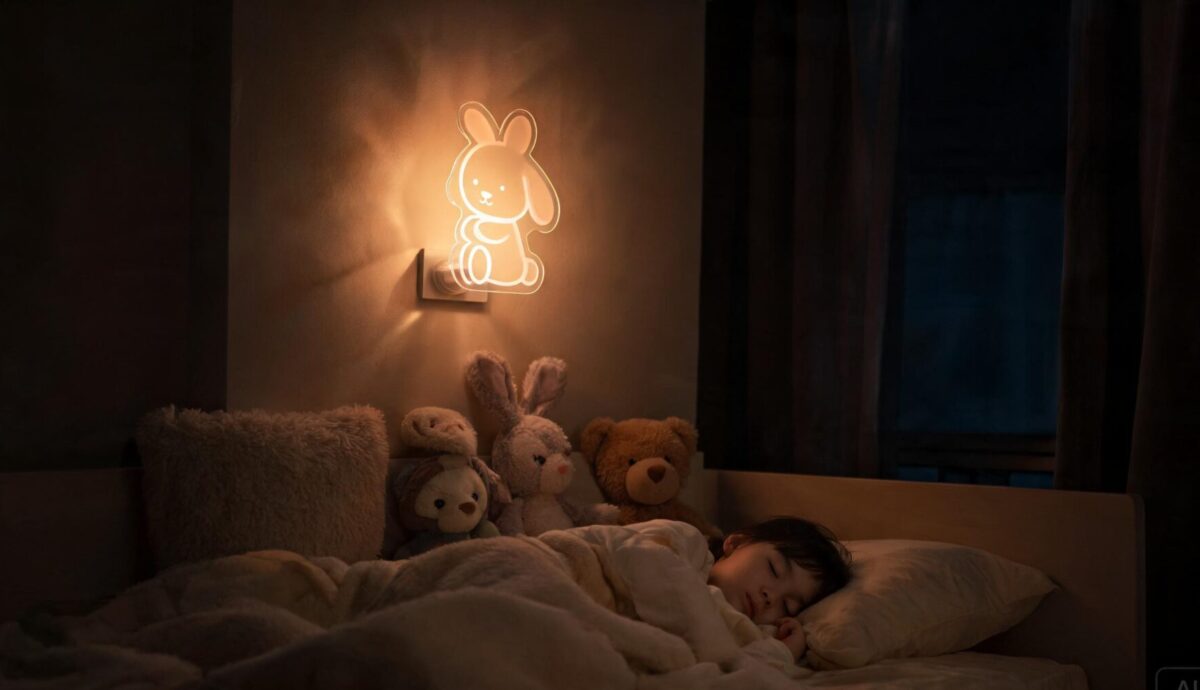
If you want something more playful, the 3D night light option lets you choose from dozens of pre-designed shapes — dinosaurs, unicorns, animals, vehicles — or send your own design to be laser-engraved. The LED base creates a 3D illusion effect that’s especially magical for kids’ rooms. Starting at just $15, it’s also the most budget-friendly option.
View the Custom 3D Night Light →
LED Message Board Night Light (RX02)
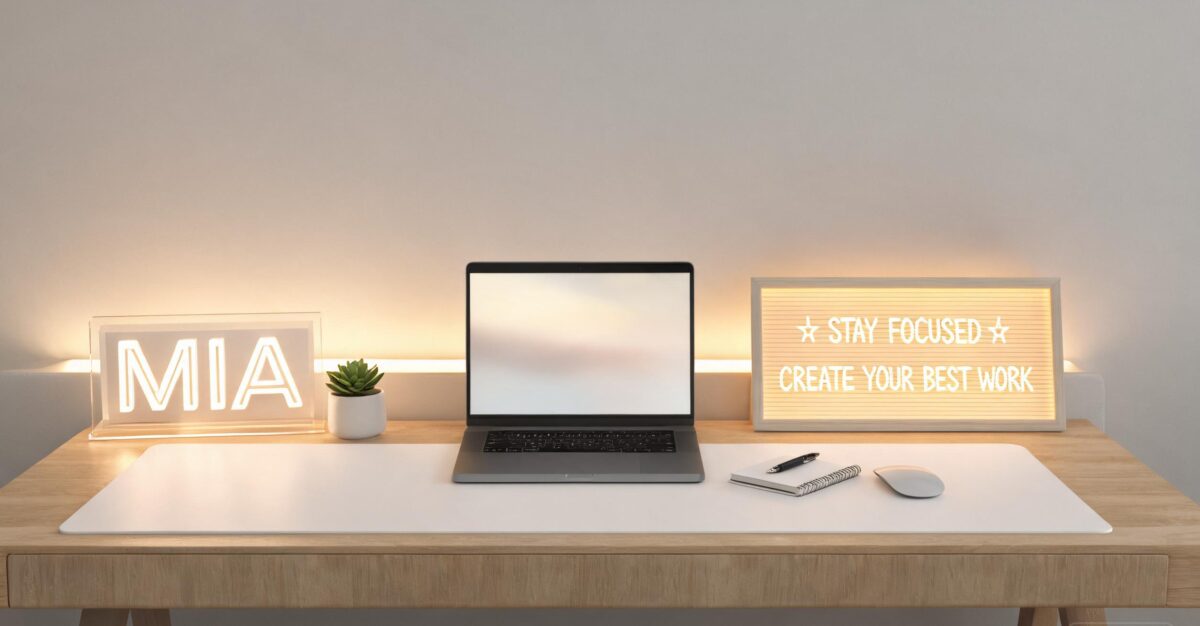
This one is a bit different — instead of a permanent photo, you get a blank acrylic canvas that you can write and draw on with neon markers. The LED base makes everything glow. It’s perfect for people who like to change things up, or for kids who love to create. You can write a different message every day.
Step 3: Prepare Your Customization Details
Once you’ve chosen your plaque style and photo, gather all the details you’ll need:
- Your high-resolution photo file (JPG or PNG)
- Song title and artist name (if ordering a music plaque)
- Any text you want engraved (names, dates, messages)
- Your order number (after placing the order)
For Relxday products, you’ll email these details to their custom service team after placing your order. They’ll confirm the design and start production within 48 working hours.
Step 4: Place Your Order
Ordering is straightforward. Select your preferred size, light color, and base style on the product page, then add to cart and check out. After placing your order, email your photo and customization details with your order number to the address listed on the product page.
The team will send you a confirmation and begin crafting your plaque. Most orders ship within 48 working hours of design confirmation.
Step 5: Unboxing and Setup
When your plaque arrives, there are a few things to do before it’s ready to display:
- Remove the protective film. Both sides of the acrylic panel have a thin protective film to prevent scratches during shipping. Peel it off gently — if it’s stubborn, soak the panel in warm water for a minute to loosen the adhesive.
- Insert the panel into the base. The acrylic panel slots into the groove on the LED base. Make sure it’s seated firmly and straight.
- Connect the USB cable. Plug the included USB cable into a power bank, adapter, or computer port. Use a standard 5V/1A charger — avoid fast chargers, which can damage the LED.
- Turn on the light. Depending on your model, there may be a touch sensor on the base, a switch on the cable, or a remote control. Experiment with the different colors and modes.
- Clean gently. Use a soft microfiber cloth to wipe the acrylic. Avoid paper towels and harsh chemicals that can scratch or cloud the surface.
Tips for the Best Result
- Choose a photo with strong contrast and clear subjects — these look best when backlit
- Black and white photos can look stunning on acrylic, especially with warm LED light
- If you’re not sure about your photo quality, send a few options and ask for a recommendation
- For music plaques, pick a song that has meaning to you both — the first dance, a concert you went to, a song that was playing when you met
- Consider the display location — warm light is best for bedrooms, while multi-color is fun for living spaces
FAQ
Q: Can I see a preview before production starts?
A: Yes — Relxday’s team will confirm your design before starting production. If you want to see a mockup, just ask in your email.
Q: What if my photo isn’t high resolution?
A: You can still order, but the result may look slightly soft. Try using an AI upscaling tool, or choose a simpler design that doesn’t require as much detail.
Q: How do I clean the acrylic panel?
A: Use a soft microfiber cloth with a small amount of water. Never use abrasive cleaners, paper towels, or scouring pads — they’ll scratch the surface.
Q: Can I change the photo later?
A: The engraved or printed photo is permanent. However, for the message board style (RX02), you can change the written content anytime since it uses erasable markers.
Ready to create your personalized plaque? Explore the Relxday collection and start customizing today.